Saved in this browser and reused when you open other posts.
The Problem
Full disk encryption is great, until you reboot a headless server at 3am and realize you need to type a passphrase with no keyboard attached. Every reboot now requires manual passphrase entry. That's... not great when your server is a headless VM sitting in a datacenter rack in another city.
Enter Clevis and Tang. Together they let your server auto-unlock its LUKS2 volume at boot but only when it can reach your Tang server on the network. No Tang server reachable? No unlock. It's elegant and your data is safe even if someone walks off with the physical server.
How Clevis talks to Tang (and why it's clever)
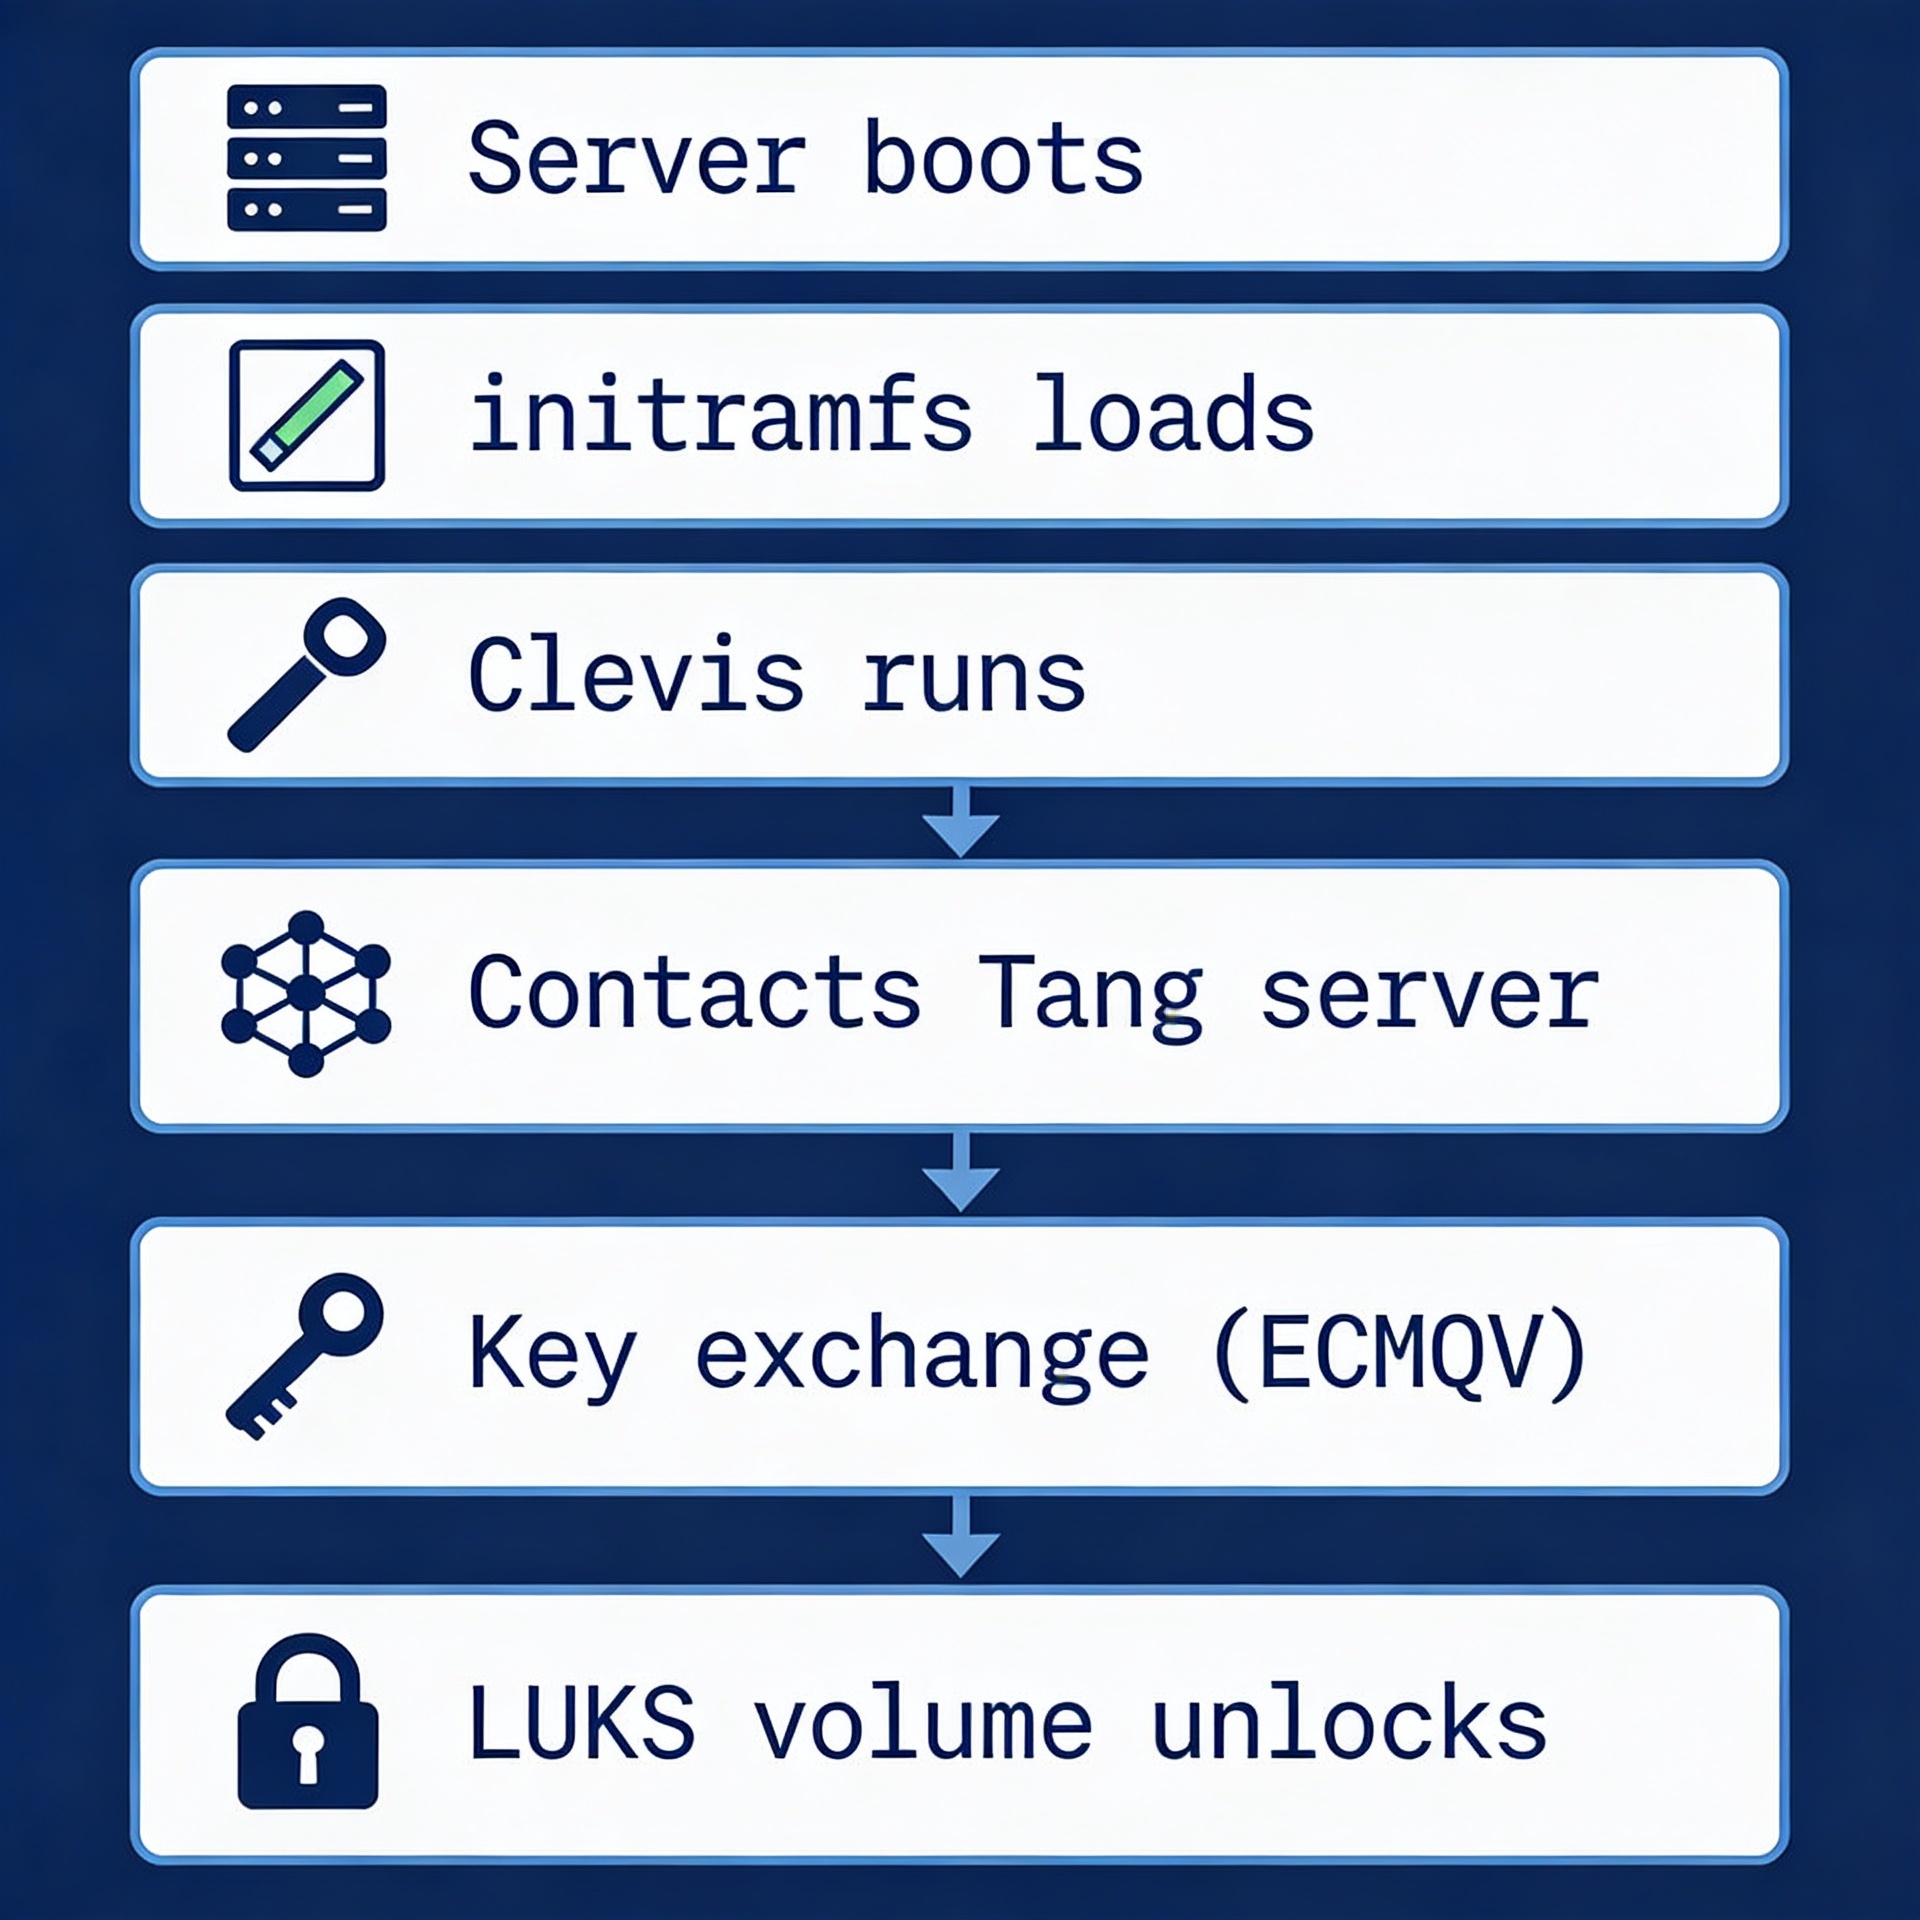
During boot, Clevis contacts Tang and initiates a JOSE/JWK key exchange. What makes this secure is what doesn't happen your LUKS passphrase is never transmitted, Tang gains zero knowledge of the disk key, and the derived secret exists only in RAM long enough to unlock the volume. The wire traffic reveals nothing useful to an attacker and the Tang server never sees your LUKS passphrase; it just participates in the math.
Let's say that Tang server is unreachable, then Clevis gets no response, the key exchange fails, and the disk stays locked. You can still fall back to a manual passphrase, which is a separate LUKS keyslot you keep as a backup.
Keep a backup passphrase keyslot! Clevis adds its own keyslot but doesn't touch your existing passphrase. Keep it. Store it in your password manager. If Tang ever goes down permanently you'll need it. LUKS supports multiple keyslots for exactly this reason.
Installing Tang on your secure key server which is located in different location.
Tang runs as a simple systemd socket service. It's lightweight It functions solely as a key exchange endpoint, requiring no database and no configuration files other than the key material it generates automatically. it automatically generates its key material in /var/db/tang/. That's it. No config needed.
apt-get update

apt install tang jose

# Enable and start
systemctl enable --now tangd.socket

# Change its port to any. Example: 9102
nano /lib/systemd/system/tangd.socket

systemctl daemon-reload

# Verify it's running
curl 127.0.0.1:9102/adv
Keep the server security hardened via a separated network segment and a secure random port. The /adv endpoint returns Tang's public key advertisement as JSON. If you can curl it, Clevis can reach it during boot. If you can't, neither can Clevis — fix your firewall first.
Installing Clevis on your luks encrypted server.
apt-get update

apt install clevis clevis-luks clevis-initramfs clevis-systemd

# Find your LUKS2 device
# Replace /dev/sda3 with your actual LUKS partition
cryptsetup luksDump /dev/sda3

# Check your manual passphrase before reboot!
cryptsetup --test-passphrase --key-slot 0 open /dev/sda3

# Bind your LUKS2 device to Tang key server
# it will ask for your existing LUKS passphrase
# Then will fetch Tang's public key and add a new keyslot for LUKS partition.
clevis luks bind -d /dev/sda3 tang '{"url":"http://your-tang-server-ip:9102"}'
When you run that bind command, Clevis contacts Tang, fetches its public key, generates a random key, encrypts it using Tang's key material, stores the encrypted blob in the LUKS2 token metadata, and registers it as a new keyslot. The actual decryption key never leaves your machine unencrypted.
Before embedding Clevis into your boot process, check your network interface name — it could be ens192, eth0, or something similar.
ip a | grep -E "^[0-9]+:"
⚠️ Important Gotcha: To avoid the "network isn't up yet" issue during boot, check how your server receives its IP address.
Clevis needs to reach Tang before the root filesystem mounts but if your network interface isn't up yet, the whole thing silently fails and drops you to a passphrase prompt.
Open /etc/netplan/50-cloud-init.yaml and verify whether your server is configured for a static IP or DHCP.
Open initramfs
nano /etc/initramfs-tools/initramfs.conf

# and add this to end of the file if your server is configured for static ip
IP=SERVER_IP::SERVER_GATEWAY_IP:SERVER_SUBNET::NETWORK_INTERFACE_NAME:none

# if your server is configured for dhcp then
BOOT=network
DEVICE=NETWORK_INTERFACE_NAME (ens192)
IP=dhcp

# Update your boot process
sudo update-initramfs -u -k all
Wait before rebooting. Test !
# Try to unlock manually using Clevis
clevis luks unlock -d /dev/sda3
# Check if Tang server is reachable
curl http://your-tang-server:9102/adv
And that's all there is to it. Your disk will now decrypt and unlock automatically during boot, no manual intervention required.